


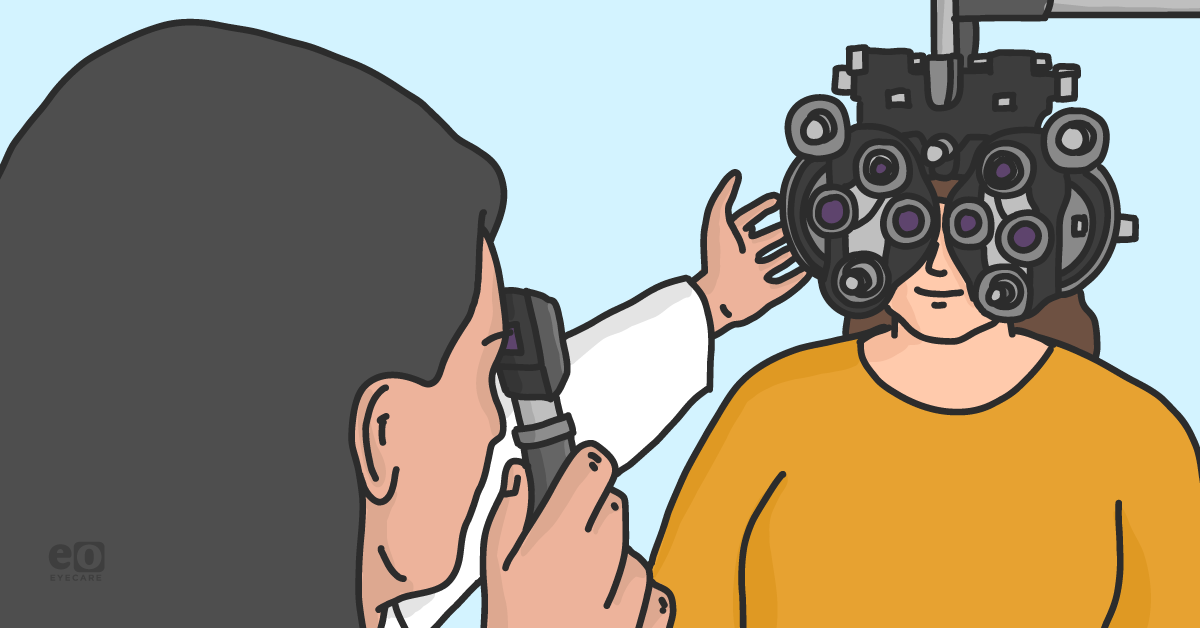
Retinoscopy may not be a test you perform use on a daily basis, but it is a fundamental skill. For certain patients, cases, or situations, it may be pertinent to get this refractive measure.
Malingering patients are perfect candidates to evaluate as their visual acuities are typically inaccurate. Similarly, in pediatric eye exams of kids under 5 years old may not have appropriate subjective feedback.
My favorite time to do retinoscopy is when I catch a child “having fun” with guessing letters. You will hear the hype with his or her voice gradually getting louder and even more excited while reading and grinning. Although it is adorable, sometimes these cute unreliable responses are a red flag that warrants pulling out the retinoscope.
Of course, we will review other indications for retinoscopy, but first, we will discuss how to hone this skillset. Although retinoscopy may appear daunting, this guide will provide the essentials, whether you are learning the craft or you just need a refresher!
Overview of retinoscopy
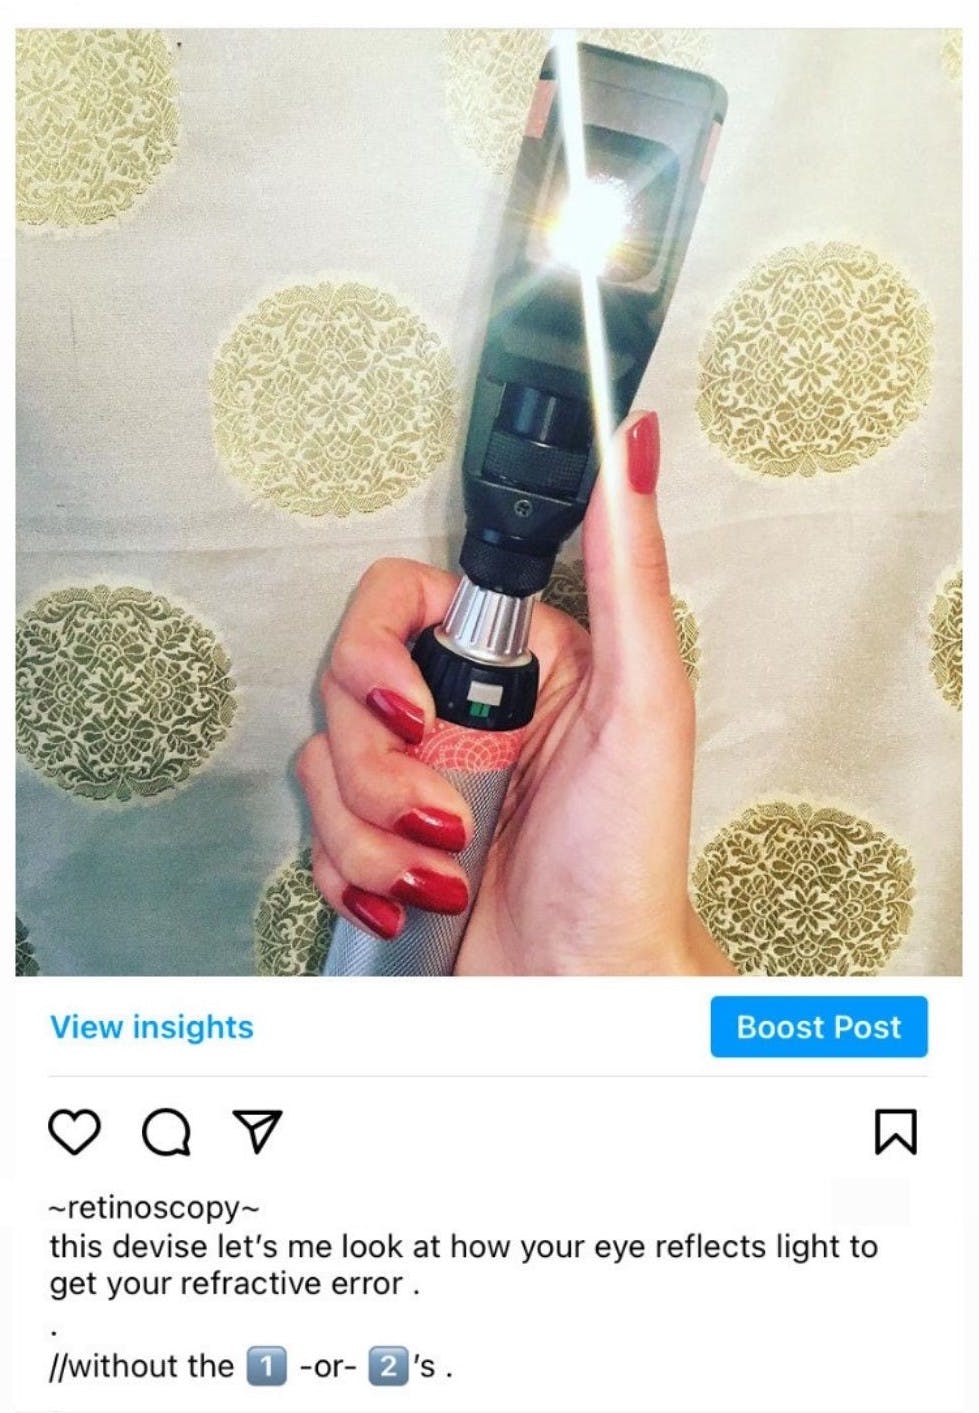
Retinoscopy (or skiascopy) is a technique that uses light and lenses to determine “where” the far point lands and quantifying that measure. Based on the eye’s light reflex we can get a baseline reading and understanding of the patient’s refractive error.
Relevant qualitative input can be seen with the retinoscope as well. Media opacities, like cataracts, as well as corneal disruptions, such as those in keratoconus, can be distinguishable. Keratoconic eyes have a scissoring reflex or an “oil droplet” sign that looks like a bubble, which can be clinically diagnostic.
In addition, retinoscopy can be accomplished without a phoropter by utilizing a lens rack or loose lenses; having fogged glasses is also helpful for ease of measurements in certain cases.

Neutralize the eye’s reflex
Optics of retinoscopy
When performing retinoscopy you are inherently locating the conjugate focus point of the retina to calculate a patient’s refractive error. The mechanics of the instrument help us appreciate how this works.
With the retinoscope’s sleeve down, diverging light leaves the instrument, and there is a plane mirror effect. Addition of plus lenses will neutralize “with motion” and minus lenses will neutralize “against motion”. The opposite is true with the retinoscope’s sleeve up with converging light rays exiting. There is a concave mirror effect with the sleeve up.1
Going through the motions
For our purposes we will consider the common practice of having the retinoscope in a sleeve down position. As you move the retinoscope side to side, you will notice that the eye’s light reflex moves in certain ways. These movements are characterized and called “motions”. The light reflex movements you see can be WITH motion, AGAINST motion, or NO motion.

With sleeve down:
- With motion moves the same direction as your retinoscope light. With motion means you add plus to neutralize the reflex.
- Against motion moves in the opposite direction as your retinoscope light. Against motion means you add minus to neutralize the reflex.
- No motion means no movement is noted and that you have neutralized the light reflex.
It's important to also go over terminology of scoping to avoid confusion.
Remember that the retinoscope beam’s orientation is perpendicular to the meridian you are scoping.
With a vertical beam that you move left and right, you are scoping the 90 degree meridian.
As a guide, download our retinoscopy protocol cheat sheet!
📚
Retinoscopy Protocol
Gain a quick overview of neutralizing refractive error
Refractive error and possibly retinoscopy findings
It’s useful to review refractive errors and how they may appear in retinoscopy to better categorize your findings. Myopes have closer far points due to the converging power of the eye. In myopes, you can potentially see against motion, with motion, or no motion. Although against motion is most commonly seen, you would see with motion if the myopic value is within the working distance, and you can see no motion if the myopic value is exactly the working distance.
In hyperopic eyes diverging power causes a farther focus point, one that is not in real space; here you would typically see with motion. Emmetropes would also have with motion as you have to take into account the working distance.
Finally, astigmatism would display a break in the reflex, where larger breaks indicated higher astigmatism value.
Formulas
When calculating retinoscopy findings, there are a few equations to keep in mind.

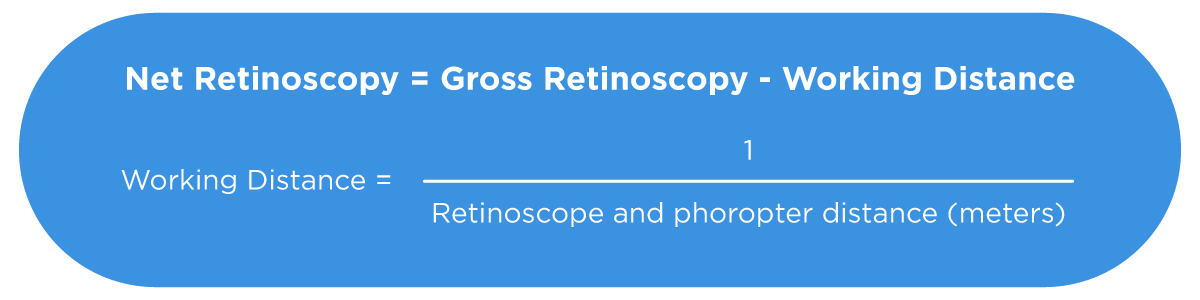
Gross retinoscopy are the numbers you collect from retinoscopy. After removing the working distance in dioptric power, you get the final net retinoscopy calculation, which is the refractive error finding.
Successful retinoscopy protocol
Phoropter considerations
Setting up the procedure for retinoscopy is simple, but the best practices for retinoscopy take root in practicing the skill clinically.
After explaining that it’ll provide a tentative objective measurement, you can clean and set up the phoropter. Make sure the pupillary distance is entered and that the bubble balance is correct with the patient aligned.
On the visual acuity chart, put up a large target (20/80 or larger) such as the 20/400 big E. Dim the room lighting and tell the patient you will be shining a light into his or her eyes. Inform the patient to only focus on the E in the distance and to share if you block its view. Now, once you and the patient are ready, you can begin scoping.
Methods are outlined below:
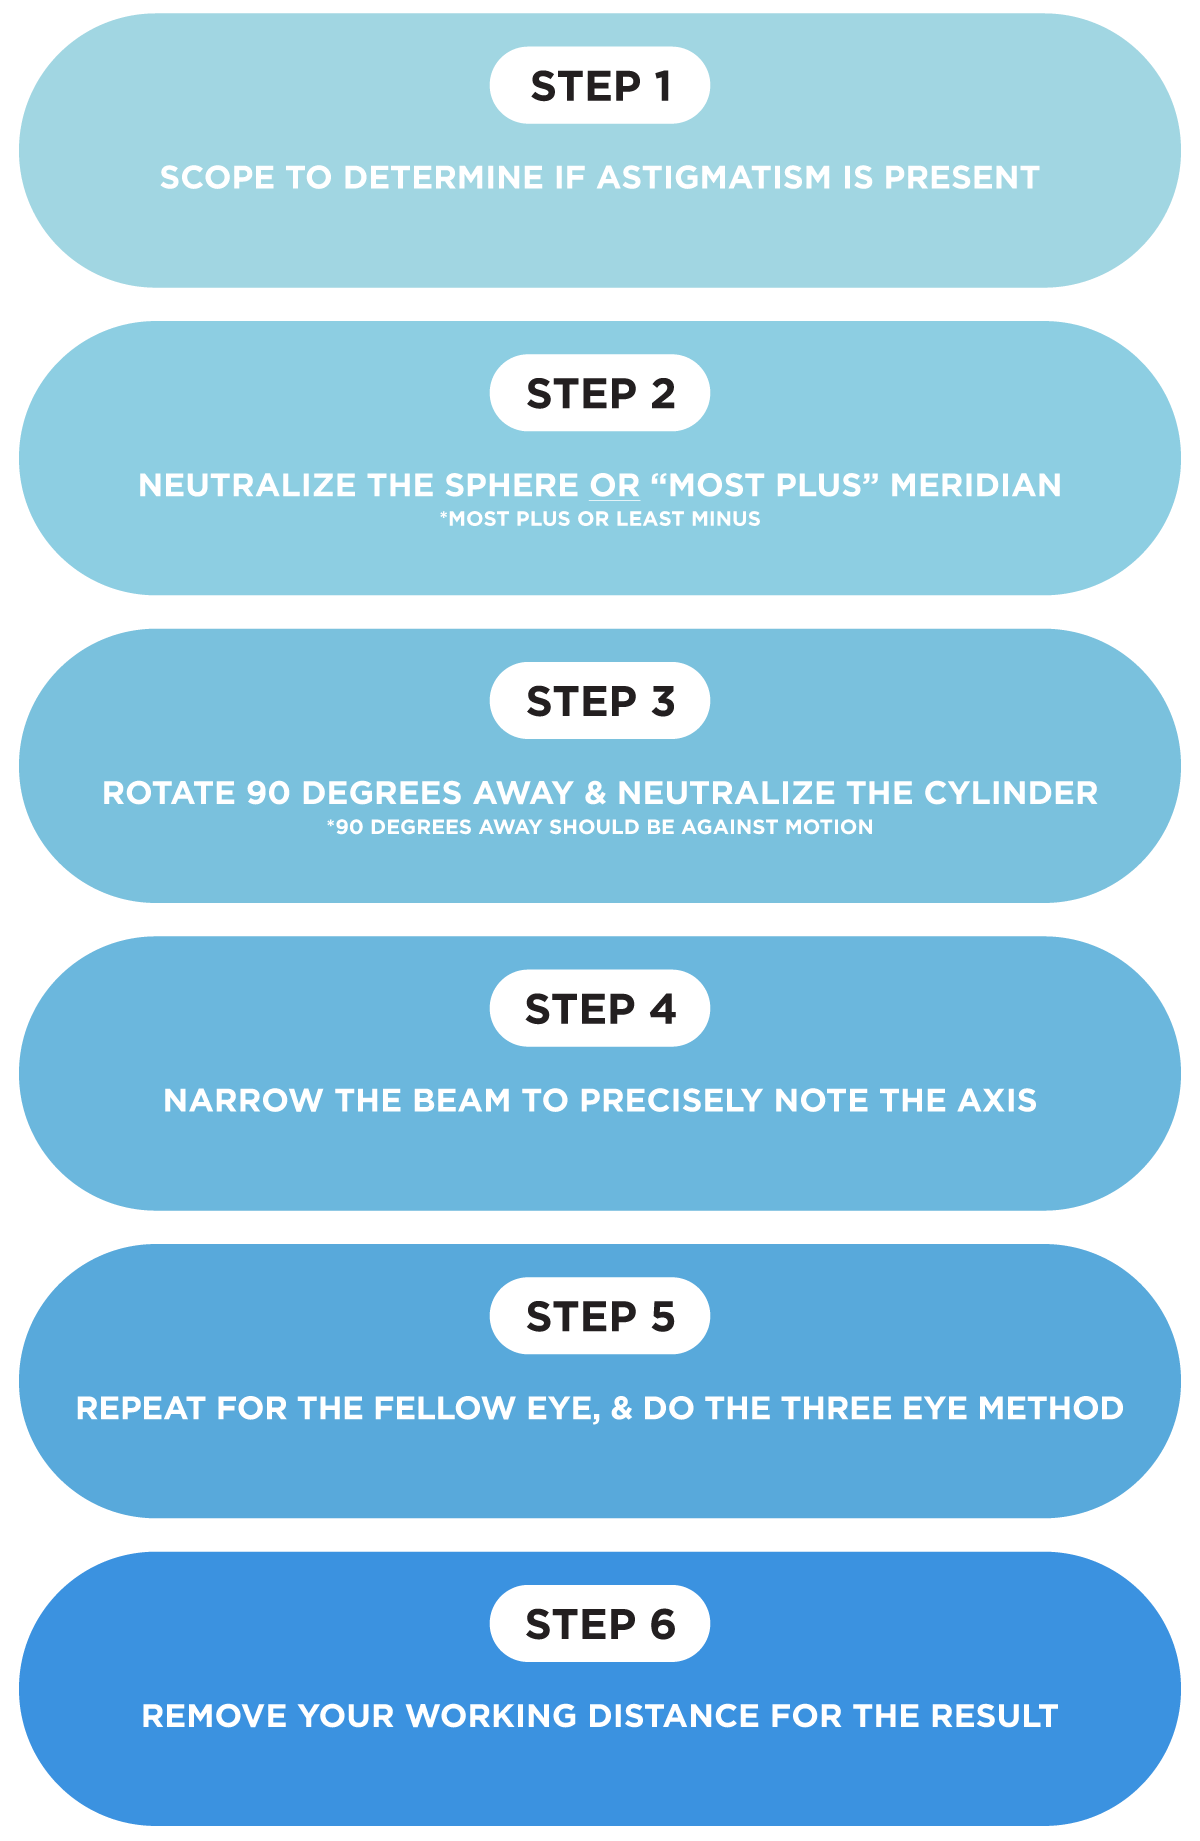
As you scan with the retinoscope, the first step is to determine the principal meridian. As you move the light side to side, rotate the beam around different medians to watch the reflex. If the light streak is parallel with the same size and brightness as you check all the meridians, the patient has no astigmatism, so just neutralize this sphere value.
Astigmatic patients will have a light reflex that is oblique to your beam and it will change in thickness and brightness as you view different meridians. By finding the principal meridian, you will determine the sphere. As you scope each axis, determine the reflex that is parallel to your light beam. Then, go 90 degrees away. Of both of these meridians, determine which has the most “with motion.”
This starting point would be the most plus or least minus meridian. Neutralizing this meridian gives the sphere measurement. Once you go 90 degrees away, this is your secondary meridian; you should see against motion and you can turn the cylinder dial to neutralize the reflex. To more precisely get an appropriate axis here, you can narrow the retinoscopy beam.
If you neutralize the sphere, go 90 degrees away and see with motion, you may need to double check the previous meridian by adding plus prior to proceeding.
Once you do this procedure, you will have no motion as you scope and you can repeat the protocol for the left eye. Finally, you can complete the three eye method by rechecking the first eye; this ensures that it was neutralized properly. Now, you can remove the fog, based on your working distance for the results.

Tips for retinoscopy success
- Have an engaging target for kids: play a movie or change targets often.
- It is crucial to focus on the central 3-4mm to avoid peripheral aberrations.2
- After neutralizing the principal meridian, confirm that you see against motions when going 90 degrees away.
- The three eye method ensures that the neutrality point on the first eye is correct, especially for higher refractions.
- Do NOT forget to take out your working distance!
- Check monocular VAs after retinoscopy for additional valuable information.3
Key takeaways
By nature, retinoscopy provides beneficial quantitative and qualitative value. Not only is retinoscopy clinically worthwhile to produce a starting point in refraction, but it also remains a mainstay of testing for patients who are children, as well as those who are on the spectrum or non-verbal. These are not mutually exclusive and can include poor subjective responders or uncooperative patients.
Other considerations where retinoscopy would be valuable are patients who cannot get behind the phoropter or auto-refractor. This includes toddlers and infants and persons with disabilities. Furthermore, in low vision exams, performing retinoscopy plays a tremendous role.
You can even serve your communities due to its mobile nature. We can use loose lenses or skiascopy bars to perform retinoscopy for vision screenings as well as mission trips, where severe language barriers may be present.
Accommodation and retinoscopy
Retinoscopy also enlightens us on underlying accommodative dysfunctions. Fluctuating pupil size and seeing flashes of varying degrees of myopia may cause you to “chase” the end point. These discrepancies may indicate pseudomyopia or accommodation deficiencies.4 In these cases, a cycloplegic exam may be warranted.
Cycloplegic retinoscopy is recommended in evaluating children, especially for first eye exams, anisometropia, strabismus, or amblyopia.2,5
Accommodative function has a role in certain retinoscopy tests as well. For example, the monocular estimate method (MEM) is a retinoscopy measure for accommodative posture to discern the necessity of near add.6 Other accommodative testing options are Bell retinoscopy, Nott retinoscopy, Mohindra retinoscopy.
Don't forget to download our retinoscopy protocol cheat sheet!
Conclusion
After truly grasping retinoscopy, you will be able to gain a foundational understanding of refractive error. You will notice that as you practice retinoscopy, you will become more comfortable and proficient in achieving quick, reliable measures of objection refraction.
This is in fact what happened to me. Eventually I developed my own creative approach for obtaining additional data. Occasionally, I use the retinoscope to observe how much objective plus a patient is masking. I do this by adding my working distance over the suspicious refractive endpoint. This allows me to view the posture of the light reflex and to check neutrality objectively.
Ultimately, retinoscopy is a substantial tool; with it the art of your refraction will solidify!
References
- Espinet A, Pakzad T. OTM Exam 2 BSK Review. lecture presented: 2016.
- Roorda A, Bobier WR. Geometrical technique to determine the influence of monochromatic aberrations on retinoscopy. Journal of the Optical Society of America A. 1996;13(1):3. doi:10.1364/josaa.13.000003
- Seger JR. Clinical pearls for hyperopia & cycloplegic refraction. lecture presented: 2018.
- Seger JR. General clinical pearls: Myopia Clinical pearls. lecture presented: 2018.
- Coulter RA. Vision Care School Age Child. lecture presented: 2019.
- Abdou M. Accommodation Continued. lecture presented: 2017.

