


There’s no doubt that during our four years in optometry school we certainly learned our fair share of clinical skills, techniques, and procedures. It is important to remember the indications and techniques when implementing these skills and caring for our patients. Depending on our practice modality, state’s scope of practice, and clinical comfort levels, we may or may not continue to use every skill we learned in school as we move forward into our career. The five clinical skills outlined in this article are useful to have in your back pocket, can help refine your diagnosis, and enhance patient care. Through repetition and practice, these skills will become second nature.
1. Performing a scleral depression
While we learned this technique as students, it’s easy to forget its importance in day-to-day practice. Most ophthalmologists will use scleral depression on any patient presenting with new symptoms of flashing lights or floater spots in their vision, so we should consider the same protocol.
Some acute retinal breaks are easily viewed on dilated fundus exams, however, scleral depression will help expose retinal holes/tears that are just out of sight (far periphery/ora serrata). It is important to ensure your patient has sufficiently dilated pupils and is reclined in your exam chair to perform this technique efficiently.
You must also be cognizant of their line of sight through the binocular indirect ophthalmoscope (BIO), ensuring it remains directly in line with the scleral depressor. In situations where there is a slight misalignment between you and the depressor, obtaining satisfactory views can be challenging.
If you’re preparing to dilate any pediatric patients, make sure you know what you’re getting into with our guide to examining children!
During the typical flow of a scleral depression exam, you can recline the patient back (after asking permission) and examine from six to twelve (straight up and down) on one side, swap sides and examine the remaining quadrants. In larger exam rooms, the patient may be able to stay in just one position during the exam. Nasal and temporal views can be challenging, but with some manipulation of the eyelids and repositioning of your line of sight, they can be obtained. Some practitioners prefer to anesthetize the eye and depress directly on the bulbar conjunctiva. With some practice, you will find that it does not take much pressure to obtain dynamic views.

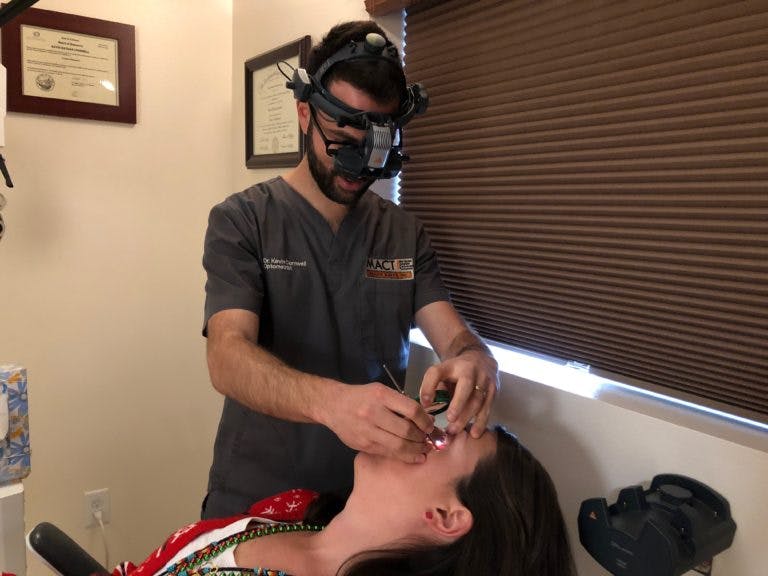
Scleral depression in the reclined position. Photo by Madison Ratto
2. Using extended slit lamp biomicroscopy
Is that a hole within their lattice degeneration superotemp? Or is it just a variation in the fundus pigmentation? Maybe it’s white without pressure? And is that a retinal hemorrhage way down there too? Maybe you can’t quite tell with this zoomed-out view through my 20/25/28 diopter lens.
These are cases where extended biomicroscopy in the slit lamp can aid you in diagnosis. Many of us were taught to examine the peripheral retina first, and then bring the patient into the slit lamp, but this exam flow can streamline our dilated fundus evaluations.
To do this, simply have the patient (dilated) look in several directions—depending on the particular quadrant you’re interested in—using either a 90D, widefield, or superfield lens. This provides you with more magnification and detail on a specific retinal finding that you’d like to differentiate. It also makes the process easier to adjust the angle of your slit lamp oculars (similar to BIO positioning) and helps you to adjust your line of sight perpendicular to the patient’s direction of gaze. If you’d like to get a closer look at the patient’s superior temporal retina OD, you can have the patient look up and to the right, while you adjust the entire slit lamp as far over to the right as possible. Sometimes a poor dilation or various media opacities can make this skill difficult to implement.
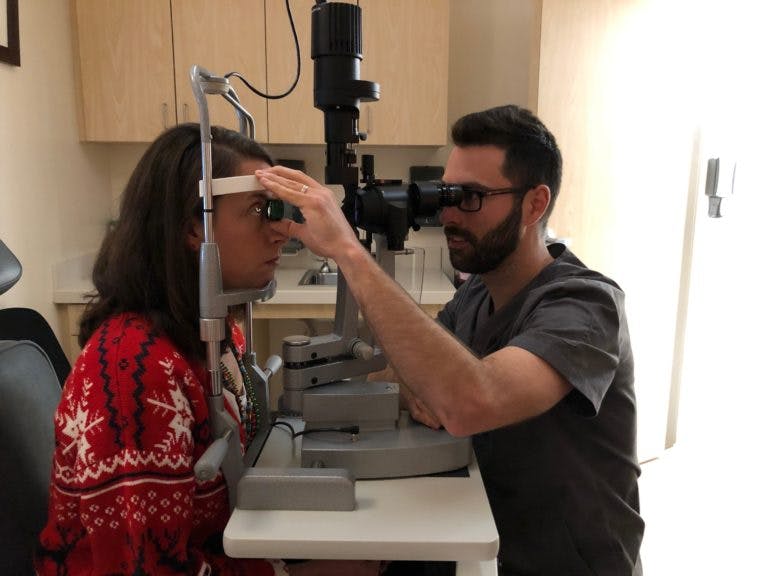
Extended biomicroscopy with superfield lens. For acute retinal breaks, it’s important to assess the presence of any subretinal fluid or physiologic pigment barrier. Photo by Madison Ratto
3. Monitoring blood pressure
Aside from needing to learn this skill for part three of the NBEO, you’ll find yourself using it frequently in clinical practice. Common exam findings that will prompt you to unleash your blood pressure cuff include tortuosity changes in retinal vasculature, subconjunctival/retinal hemorrhages, cotton wool spots, or a swollen nerve/papilledema. You may frequently encounter the isolated retinal heme on a dilated exam – they’re common in vasculopathic disease so check blood pressure (and blood glucose) if possible. Optometrists play a large role in detecting undiagnosed diabetes and hypertension and connecting patients with the necessary primary care physician.
With isolated retinal hemes in asymptomatic patients, checking blood pressure in-office can determine one of several things:
- Is the BP normal or are the retinal findings benign? (eg. valsalva retinopathy)
- Is their BP elevated enough to collaborate with primary care? (eg. undiagnosed HTN)
- Is the patient at risk for hypertensive crisis/stroke?
- In this case, send the patient directly to the ER. A good ballpark number to keep in mind is roughly 180/100 systolic over diastolic.

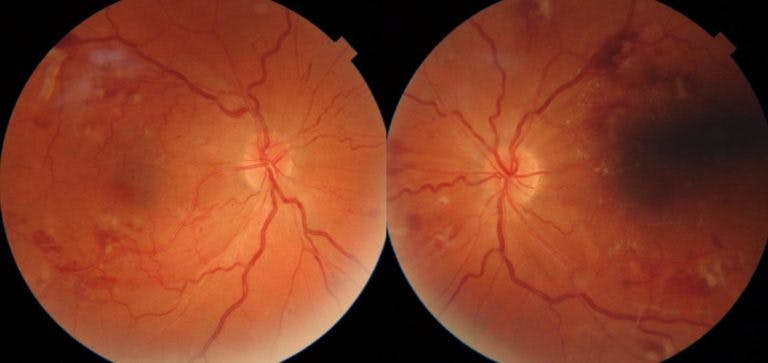
Hypertensive retinopathy can indicate a high risk for impending stroke, warranting in-office BP measurement and a referral to the emergency room.
4. Performing gonioscopy
Performing gonioscopy is a great way to gather more information during your examination and is a must-have clinical skill in your toolbox. It is crucial to perform gonioscopy on any patient that you suspect may have occludable angles, asymmetric IOP (to rule out angle recession (>3mmHg), ocular hypertension/POAG, or someone with any signs of iris neovascularization. Also, keep in mind that gonioscopy is best performed in a dimly lit environment.
Using a photograph or diagram of the eye can sometimes help explain gonioscopy to your patient. “I’m going to put a special contact lens on you to see if there is any bleeding from diabetes in the front part of your eye and then assess how the fluid inside your eye drains”

Gonioscopy procedure. Photo by Madison Ratto
5. Testing out a trial frame
While this may sound silly, it’s often an underutilized piece of equipment in our offices. It can significantly reduce the number of patients returning, unhappy with their new glasses prescription. For some reason, out of all the testing we do, the technology we have, and the equipment we use, the trial frame seems to elicit the biggest reaction. “Can I take a selfie with this on?”
The trial frame provides instant feedback for you and the patient and can also help to determine whether or not the new prescription is optimal or needs some adjustment. Despite what the patient may report to you during subjective refraction behind the phoropter, the trial frame provides a more realistic example of what their vision will be with new glasses.
Typically hyperopes and astigmats will benefit the most from you implementing trial frame into your exam flow. Myopic patients have typically worn glasses for longer periods and are more accustomed to having corrected vision with glasses (spectacle mag) or contact lenses. We frequently encounter both hyperopes and astigmats who’ve gone decades without vision correction, because of this, they are typically resistant to having their vision fully corrected.

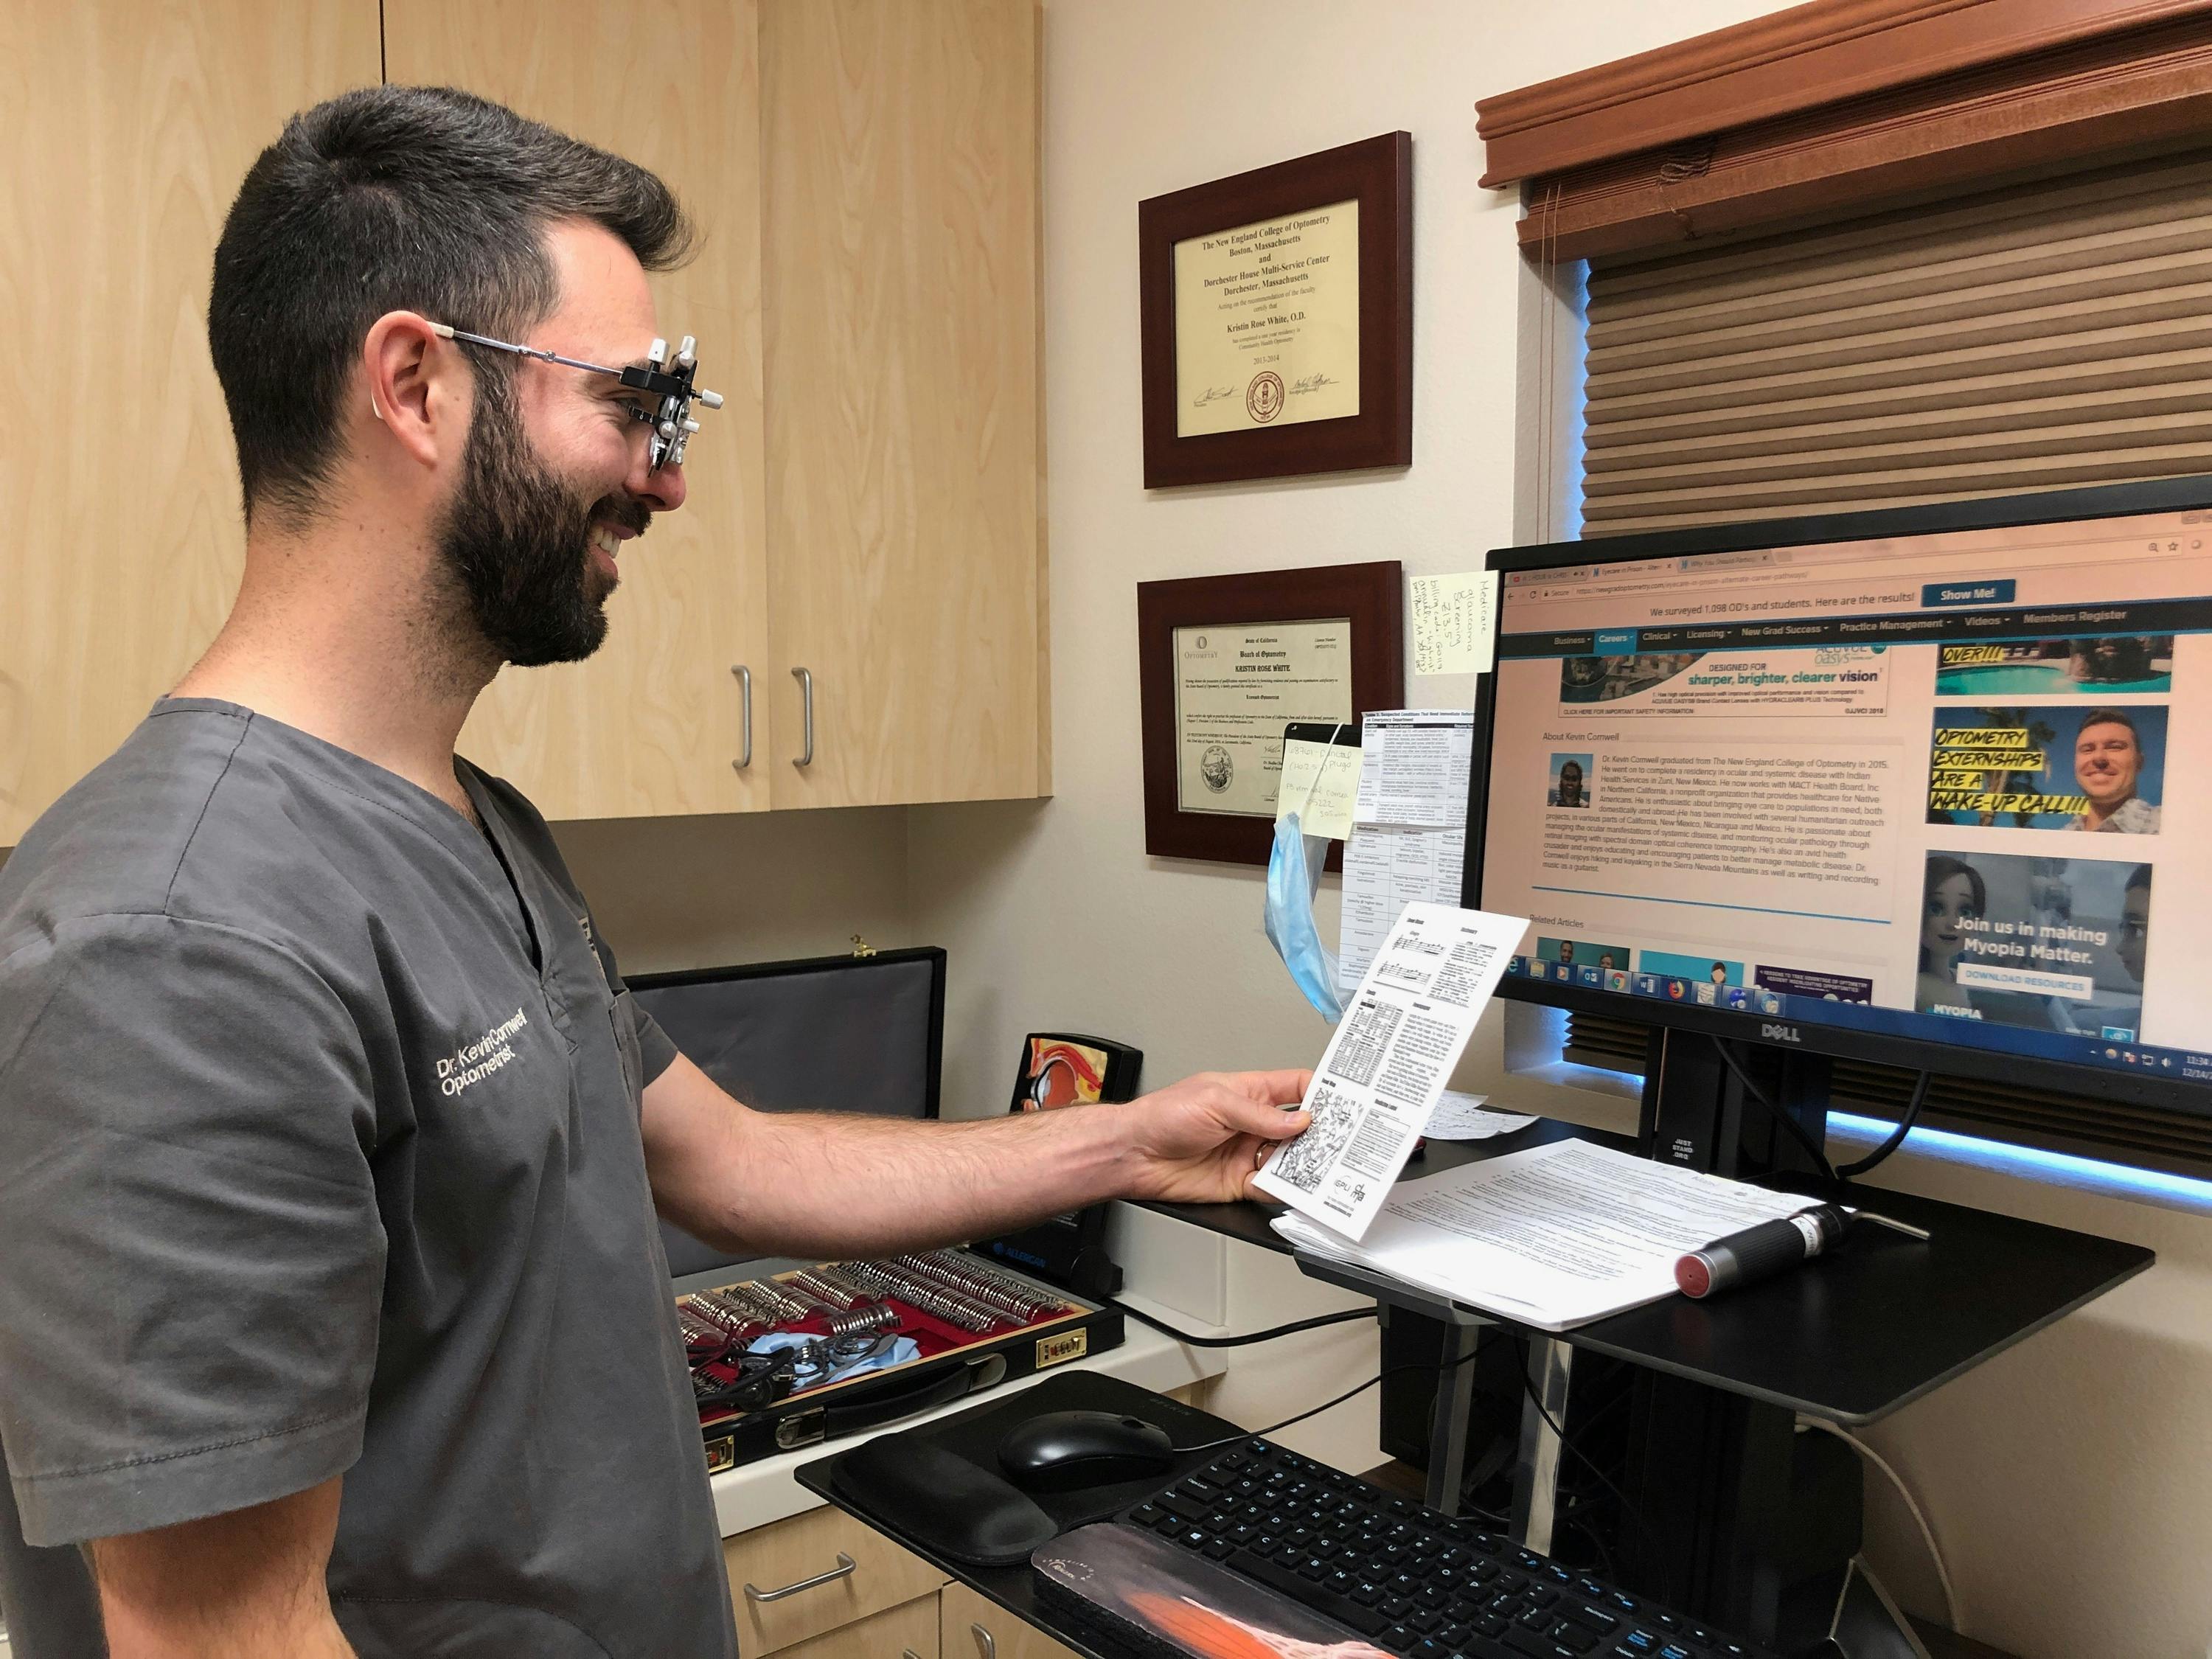
Photo by Madison Ratto
Assessing the proper working distance for presbyopes is also crucial. Most patients will do just fine with their age-appropriate add power; however, some patients require special modification to their near Rx. These patients can include those that work with small equipment such as artists, jewelry makers, and electricians that need higher add powers.
On the other hand, anyone who spends prolonged periods at a computer could potentially benefit from lower add powers. Cutting the add power in half doesn’t always work for intermediate distances, so a good question to ask your patients who work at computer workstations is “How far do you typically sit/stand away from your display monitor?” You can confirm this by trial framing their computer prescription and having them simulate their working conditions at your computer.
Trial framing your patient’s new manifest refraction is also a great way to minimize the need to reissue glasses! This combined with working with hyperopes on adding more plus to their prescription, determining proper working distances in presbyopes, or adjusting the axis in high astigmats are all great scenarios to take out your trial frame.
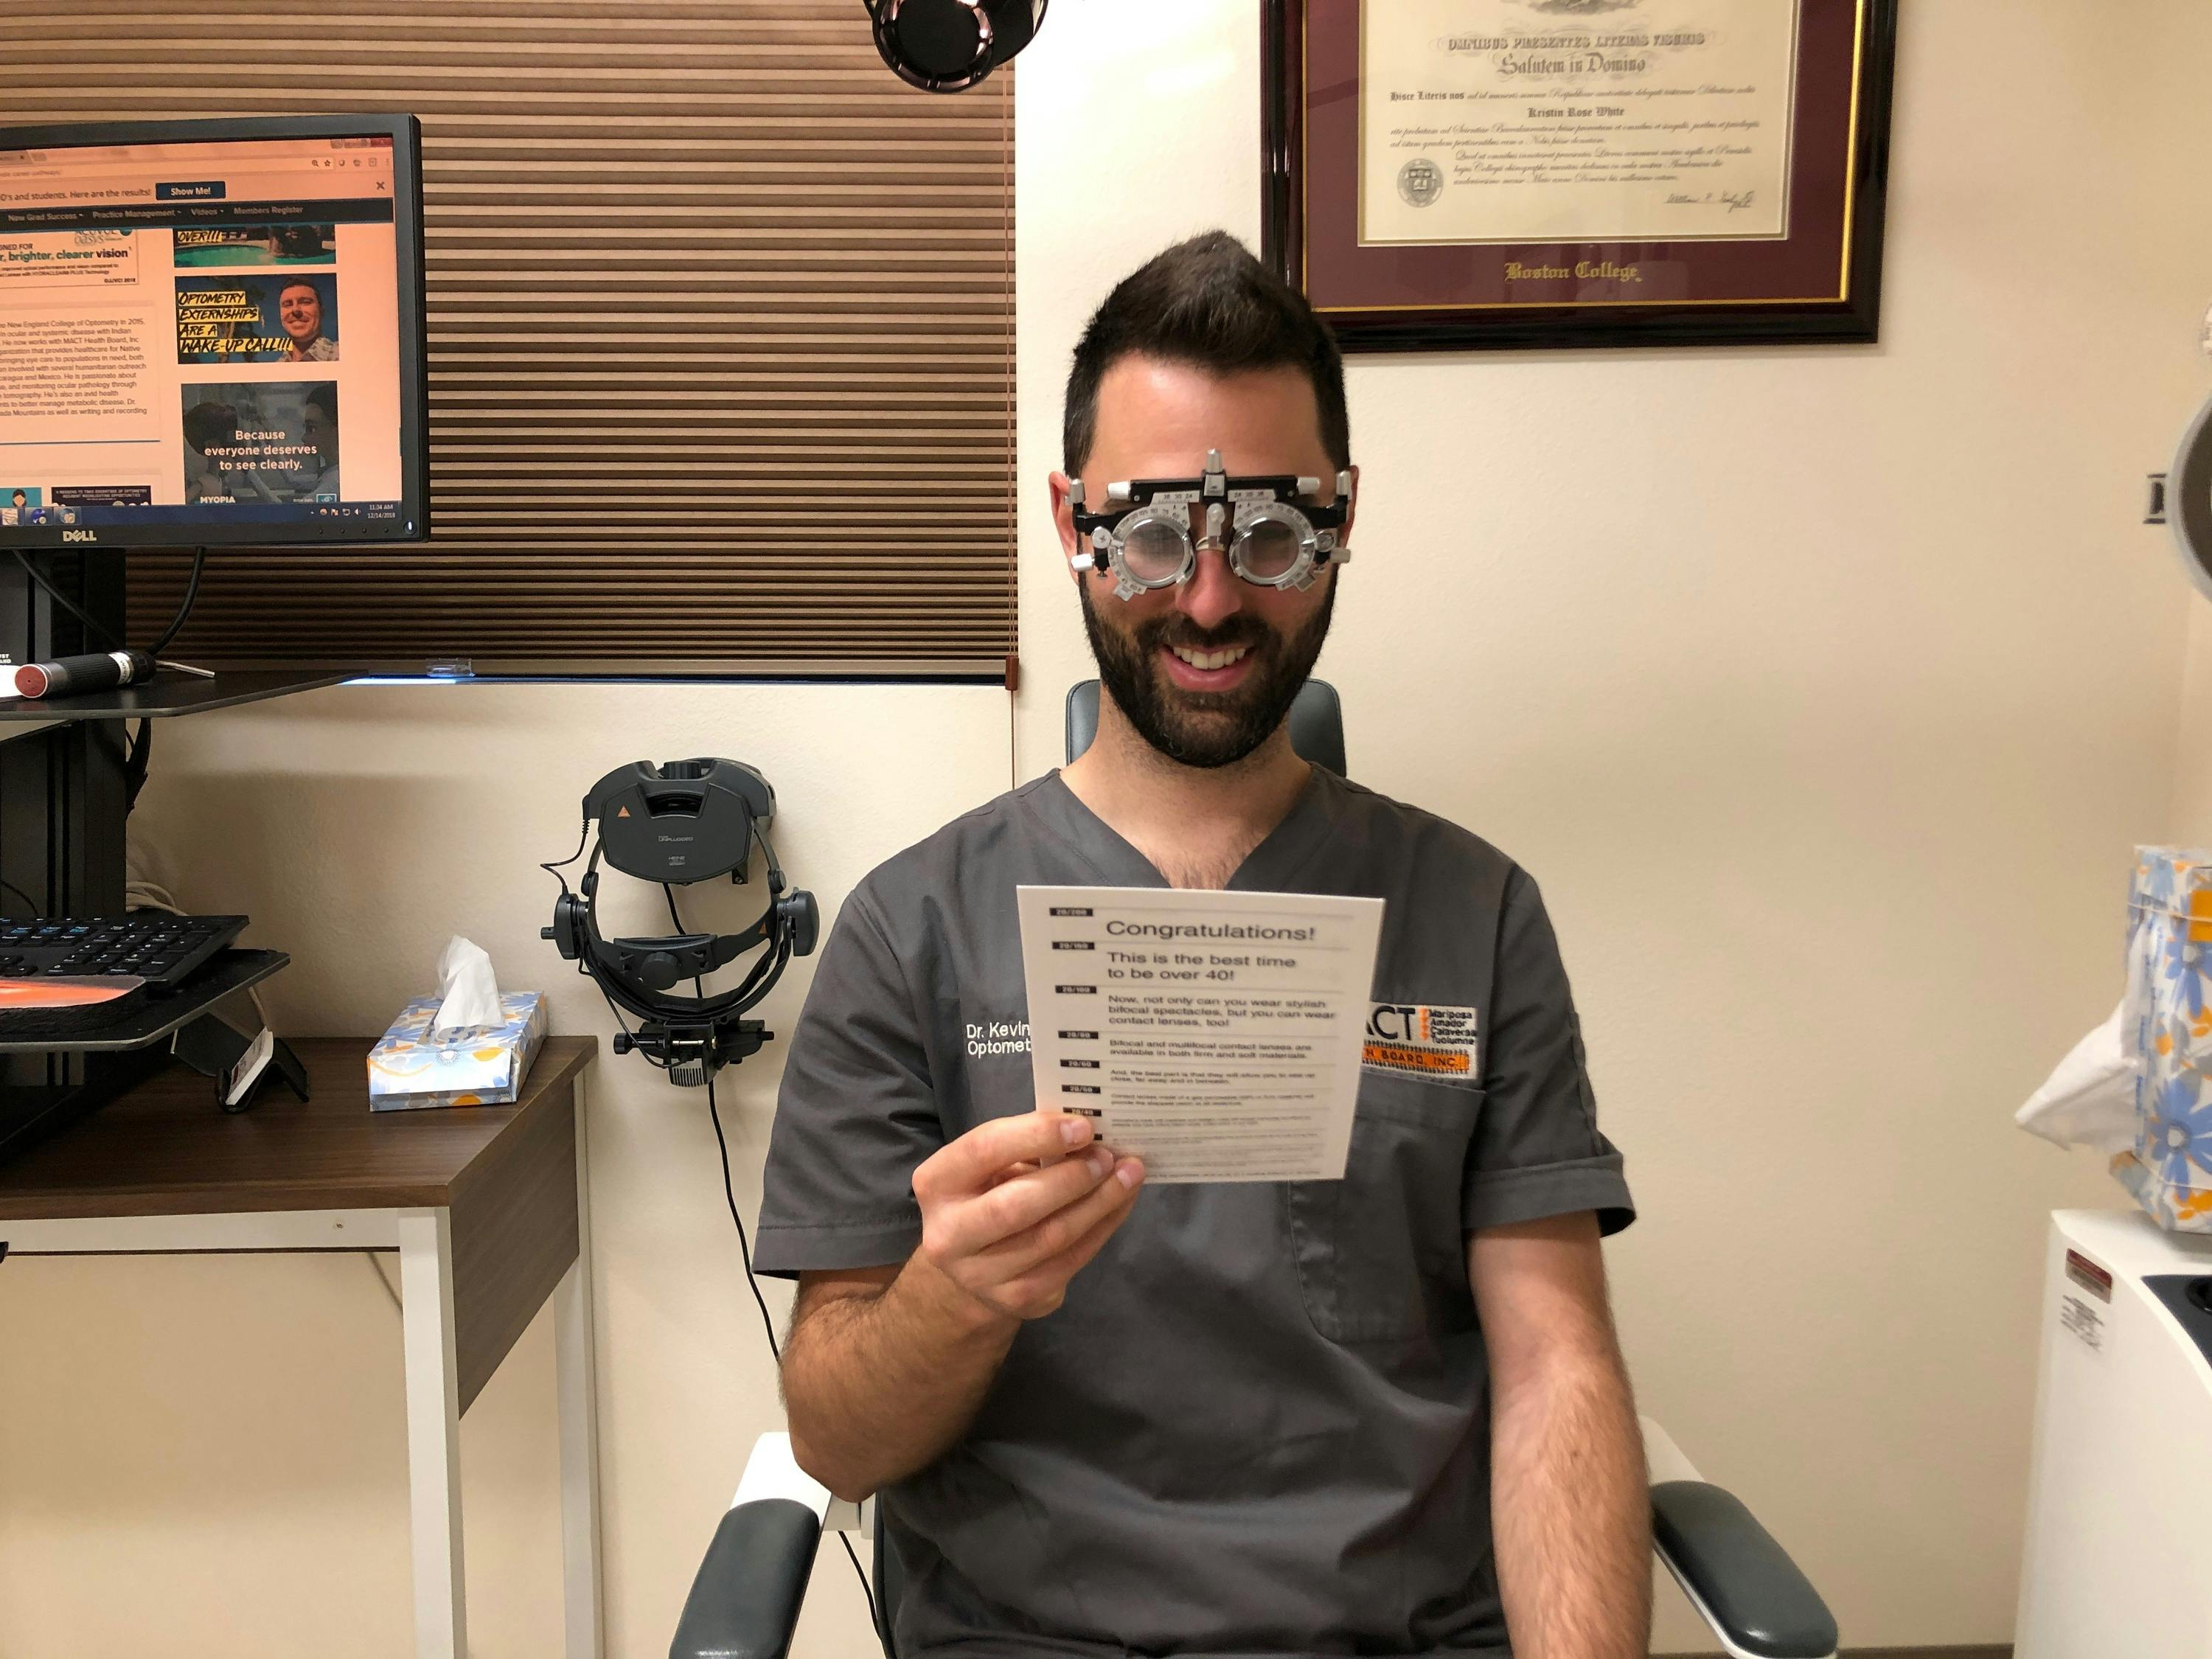
Put on your trial frame and smile for the camera! Photo by Madison Ratto
As you embark on your career journey, it is important to keep your clinical toolbox fresh and ready to use at a moment’s notice. As optometrists practicing full-scope optometry, we have to maintain our ability and confidence in our clinical skills, regardless of practice modality. Depending on our state’s scope of practice, practice setting, and clinical comfort levels, our skills as new grad ODs will vary slightly. It is important to perform these clinical skills when appropriate for the best interest of the patient and to know when to refer appropriately – it could save the patient’s sight or life.
